Stylesheet
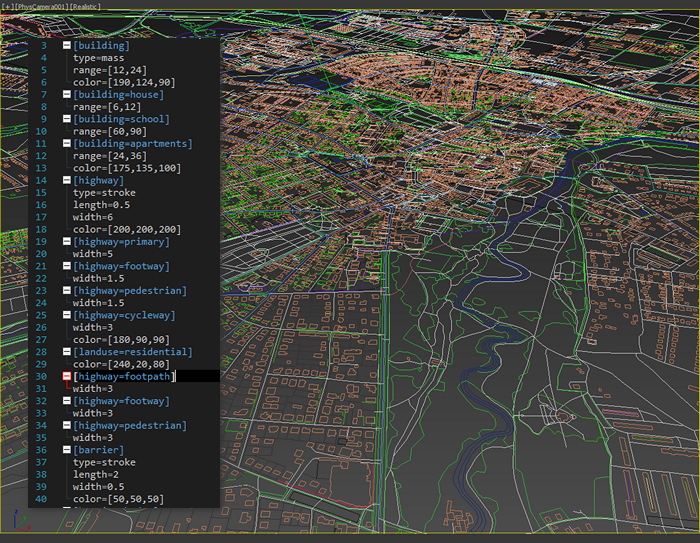
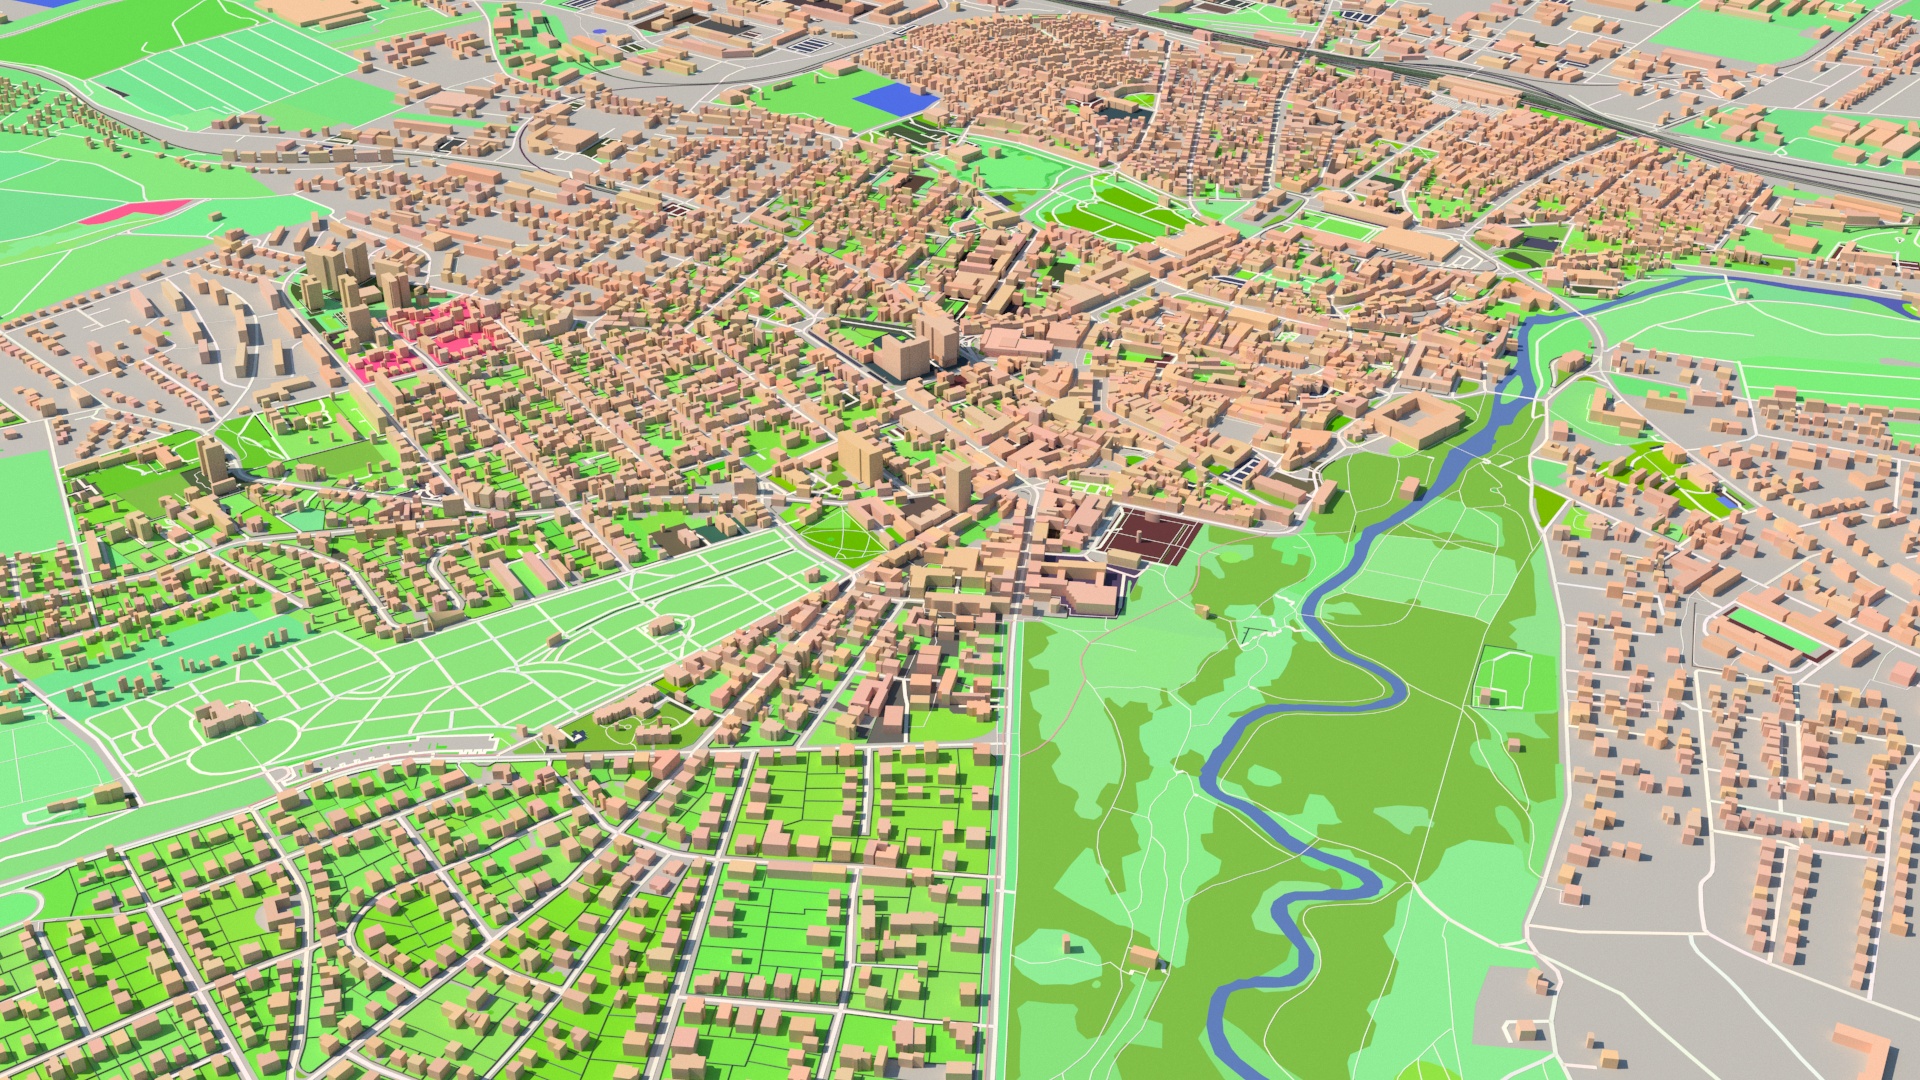
A stylesheet is a set of rules which can be applied to shapes imported from openstreetmap. The rules from the stylesheet generate geometry from the shapes. This can be used to quickly create a built environment with buildings, roads, waterways and so on. The geometry is pretty generic but adapts to the labels attached to the osm shapes. For instance you can define a rule to extrude apartment buildings 24 meters high and industrial buildings 12 meters. If the rule encounters a shape with the label “apartment” or “industrial” it will pick the right height to extrude. You can also define the width of specific road types and apply colors to the objects.
From shapes
To geometry in one step
System and user styles
Maproom ships with a system style. This style gets you going. It’s also very easy to create your own. You can either start from scratch or copy the default one and modify it. In the settings panel you can manage the location for user stylesheets. Check that out here. The list of stylesheets show system stylesheets with the prefix “sys” and user stylesheets with the prefix “user”. A style is applied to shapes which match the name of the style. It helps to make yourself familiar with the names of osm shapes. Just download a piece of osm data with Maproom and look at the object names. That will help you understand styles more easily.
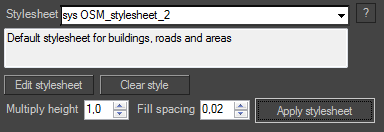
The stylesheet panel. Pick a stylesheet and apply it.
Note
Watch out to keep your modified stylesheets outside of the Maproom installation folder as they’ll be reset when you update Maproom.
Create a style
There are currently four styles you can apply. Besides that you can assign colors to items in the stylesheet.
Mass: adds height to closed shapes, for instance buildings
Stroke: sweeps a rectangular profile along a shape, for instance a road
Fill: fills closed shapes as flat geometry, for instance parks or parking areas
Skip: skips over this style
Mass
There are two levels to this system: generic styles and sub styles. You can assign a style to all building shapes, that’s the first level. Once you’ve created this general building style you can assign refined styles to specific types of buildings, such as building=school or building=church. These specific styles override the generic style of that type but they also inherit from it. It would look something like this.

Mass example
1 2 3 4 5 6 7 8 9 | [building]
type=mass
range=[9,12]
color=[190,124,90]
[building=school]
color=[25,206,140]
[building=church]
range=[24,36]
color=[20,20,70]
|
In this example there’s a generic building style. The type is mass which means that all shapes which are buildings will be extruded. An extrusion range is defined with range=[9,12] which means that these buildings will be extruded randomly between 9 and 12 meters. These buildings also get a color. Please note these colors are also slightly randomized to get a lively feel. After that there’s a refined building style for building=school. This style only applies to shapes with that specific name and defines a single color, nothing else. All other properties are inherited from the building style. This means schools will be extruded within the same height range as the normal buildings, they only get a different color. Finally there’s style for building=church. This style specifies both a range for extrusion and a color.
There are three special cases with the buildings, these are building:height building:levels and height. These are all buildings which have height data embedded. Any extrusion range you specify will be ignored and the height information from openstreetmap will be used instead.
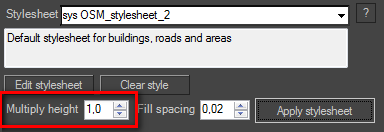
For a quick modification of the building heights you can change the height multiplier.
Stroke
The stroke type is very suitable for roads. A stroke is created with a sweep modifier. A rectangular profile is used which has a width and length. The length in our case refers to the thickness of the road.
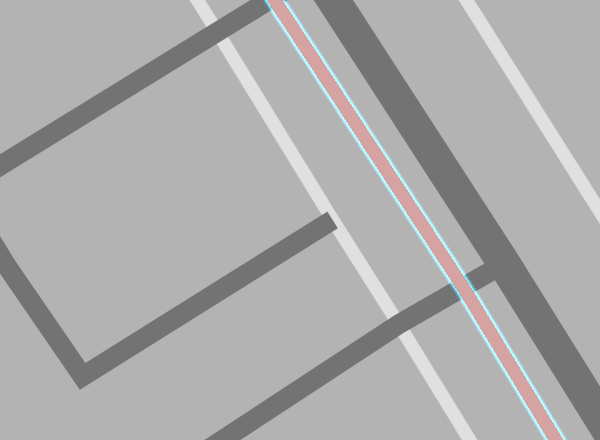
Stroke example
1 2 3 4 5 6 7 8 9 10 11 12 13 | [highway]
type=stroke
length=0.5
width=5
color=[30,30,30]
[highway=service]
width=3
[highway=footway]
width=2
color=[200,200,200]
[highway=cycleway]
width=2
color=[180,90,90]
|
This example contains a generic highway style which is applied to all highway shapes in the scene. The style has a length (the thickness of the road) of 0.5 meters and a width of 5 meters and a dark grey color. Then there are thre sub-styles. One for highway=service which has a smaller width and two for highway=cycleway and highway=footway both of which are narrower and have a different color. Note that none of the sub-styles specify a length which means they inherit it from the generic highway style.
1 2 3 4 5 6 | [railway=subway]
type=stroke
length=12
width=12
color=[30,30,180]
push = -25
|
Here’s an example of the push property of stroke-styles. The push property moves the affected objects up or down. In this case the railway=subway objects will be pushed -25 meters (that’s downwards) which is appropriate for subways.
Fill
The fill type fills in flat areas such as landuse, parks or parking areas. Since the imported osm shapes all lie in the ground-plane there will be extensive z-fighting. The styling system fixes this by slightly spacing fill type objects apart. The z-order is determined by the order of the styles in the ini-file. Styles defined at the top will lie on top in the 3D stack. The distance between the fill items can be tweaked.
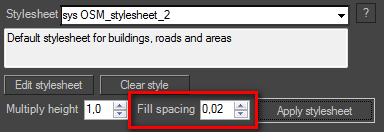
Spacing is set to 2 centimeters
Note
A small spacing, like 2 centimeters, will likely not help with z-fighting in the viewport, but it will fix z-fighting in a render.
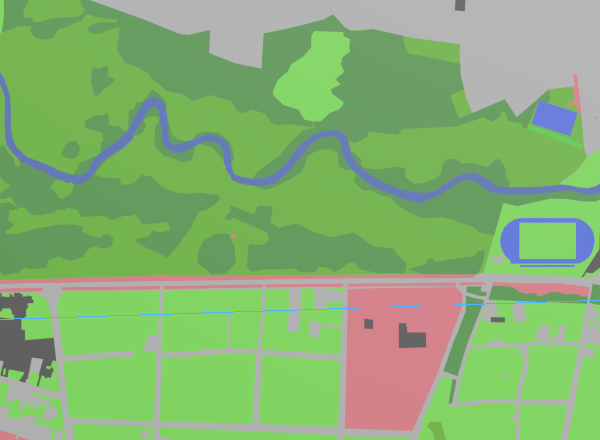
Fill example
1 2 3 4 5 6 7 8 9 10 11 12 13 14 15 16 17 18 19 20 21 | [waterway]
type=fill
color=[20,40,120]
[leisure=pitch]
color=[20,40,190]
[leisure]
type = fill
color = [50,180,20]
[landuse=forest]
color=[20,80,15]
[amenity]
type=fill
color=[20,20,20]
[landuse]
type=fill
color=[180,50,60]
[natural]
type=fill
color=[20,160,10]
[leisure=park]
color=[35,120,5]
|
This example illustrates a bunch of fill styles. Note the generic leisure style and the sub-styles leisure=pitch and leisure=park are placed apart. The styles at the bottom are placed lower than the styles at the top. Also note the sub-style is allowed to be defined later (lower) than the generic style.
Skip
A shape only is turned into geometry if it matches with one of the styles in the stylesheet. If you’ve downloaded a full set of osm data with buildings, roads, parks and rivers you only get geometry shapes you’ve defined a style for. Once you’ve done that, you might want to selectively turn off some of those styles because they clutter. This is the case with the route objects for instance. For these cases, when you don’t want to delete the style, but you do want to hide the objects, there’s the skip type.
1 2 3 4 5 6 | [route]
type=skip
length=1
width=1
color=[255,0,0]
push = 20
|
Video
Let’s wrap it up with a video